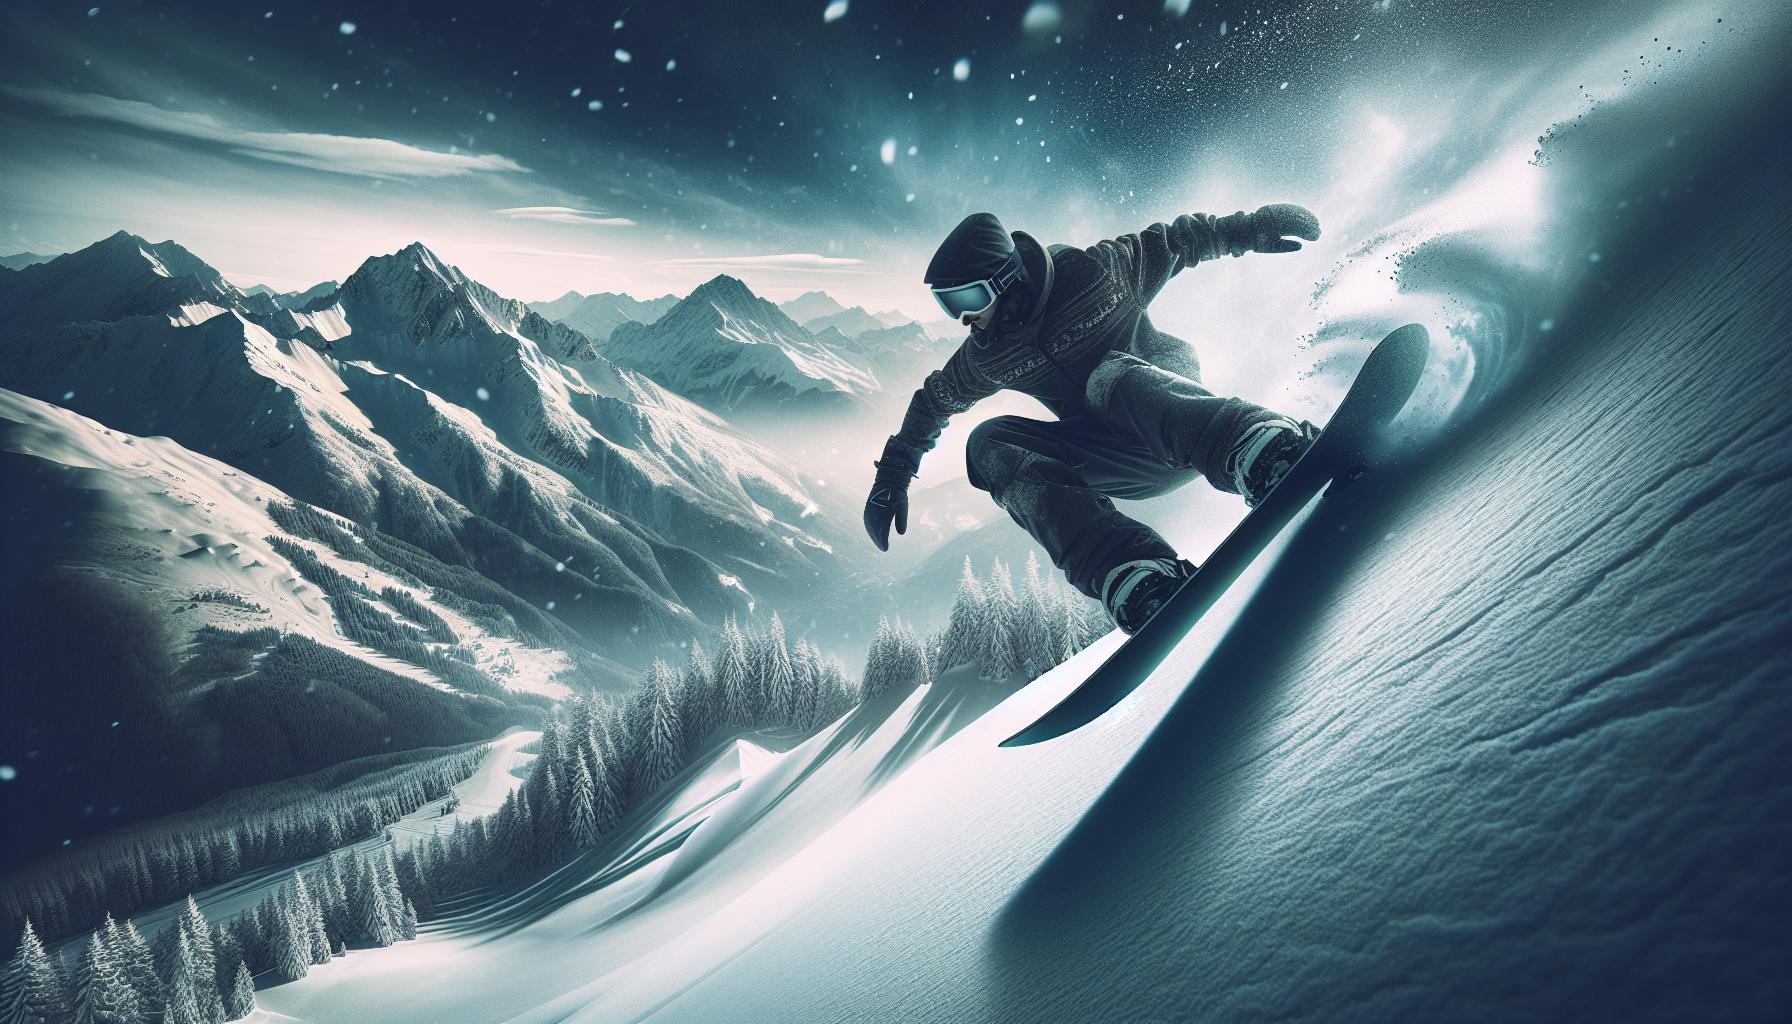
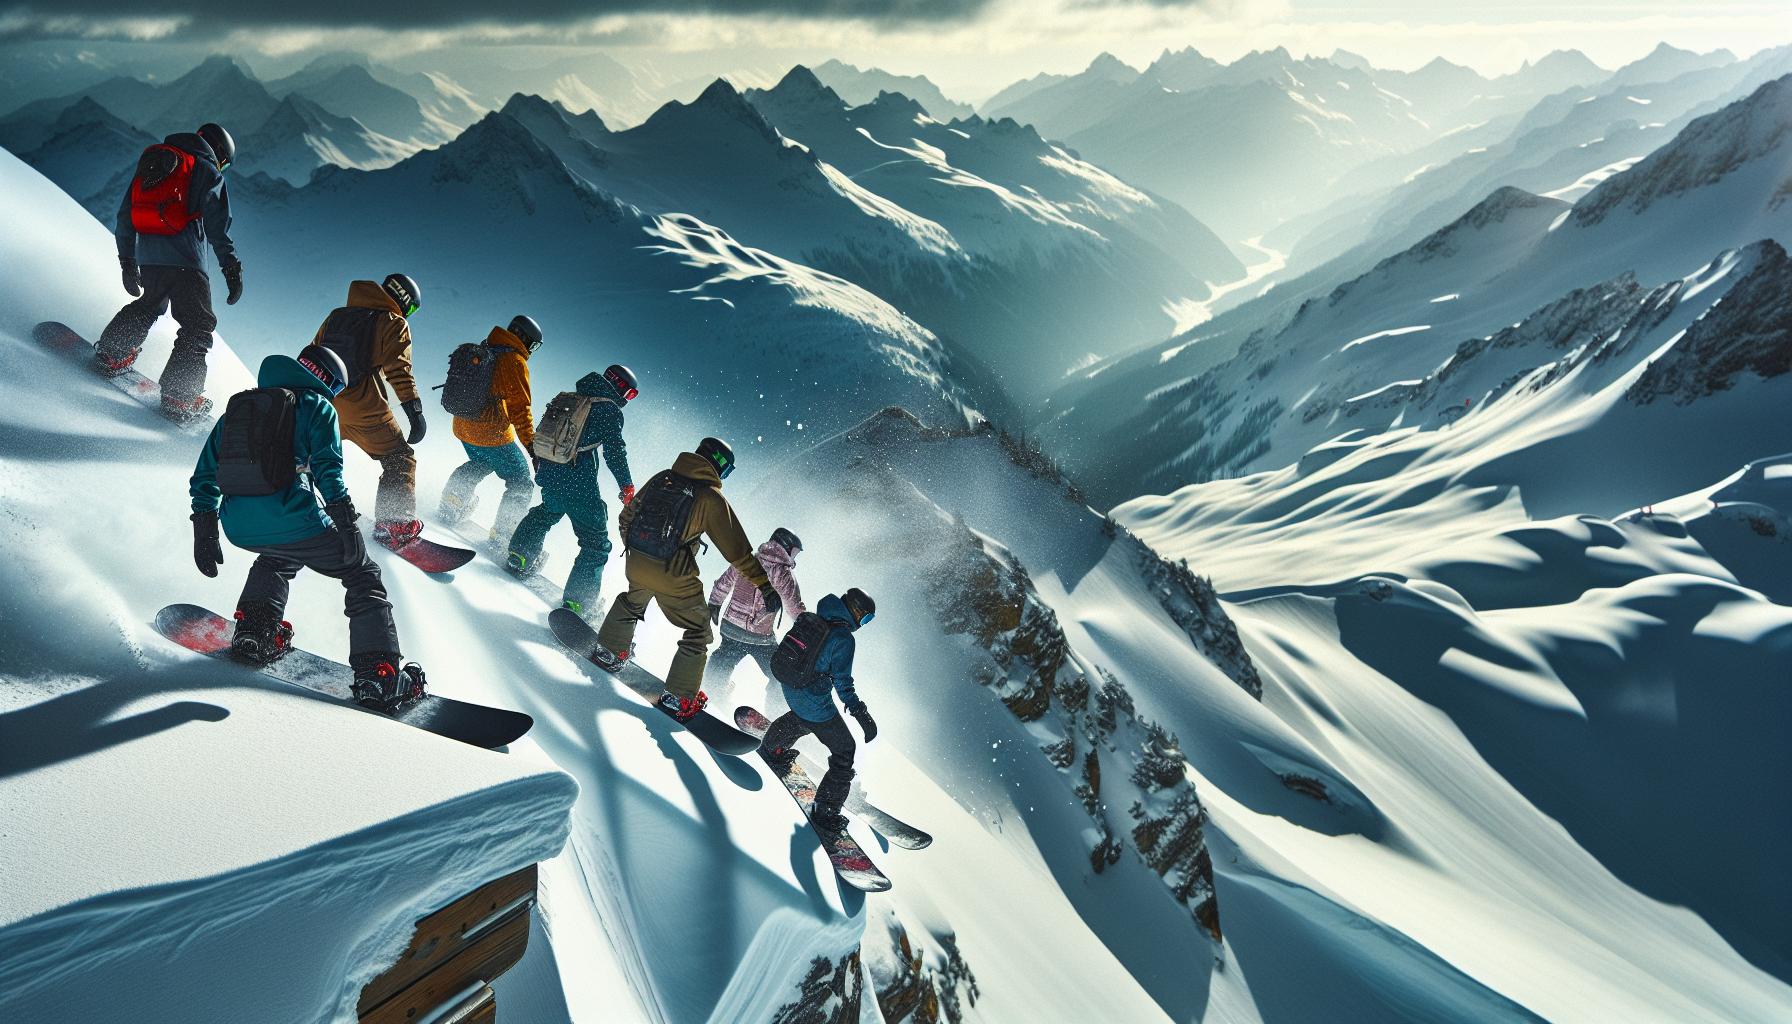
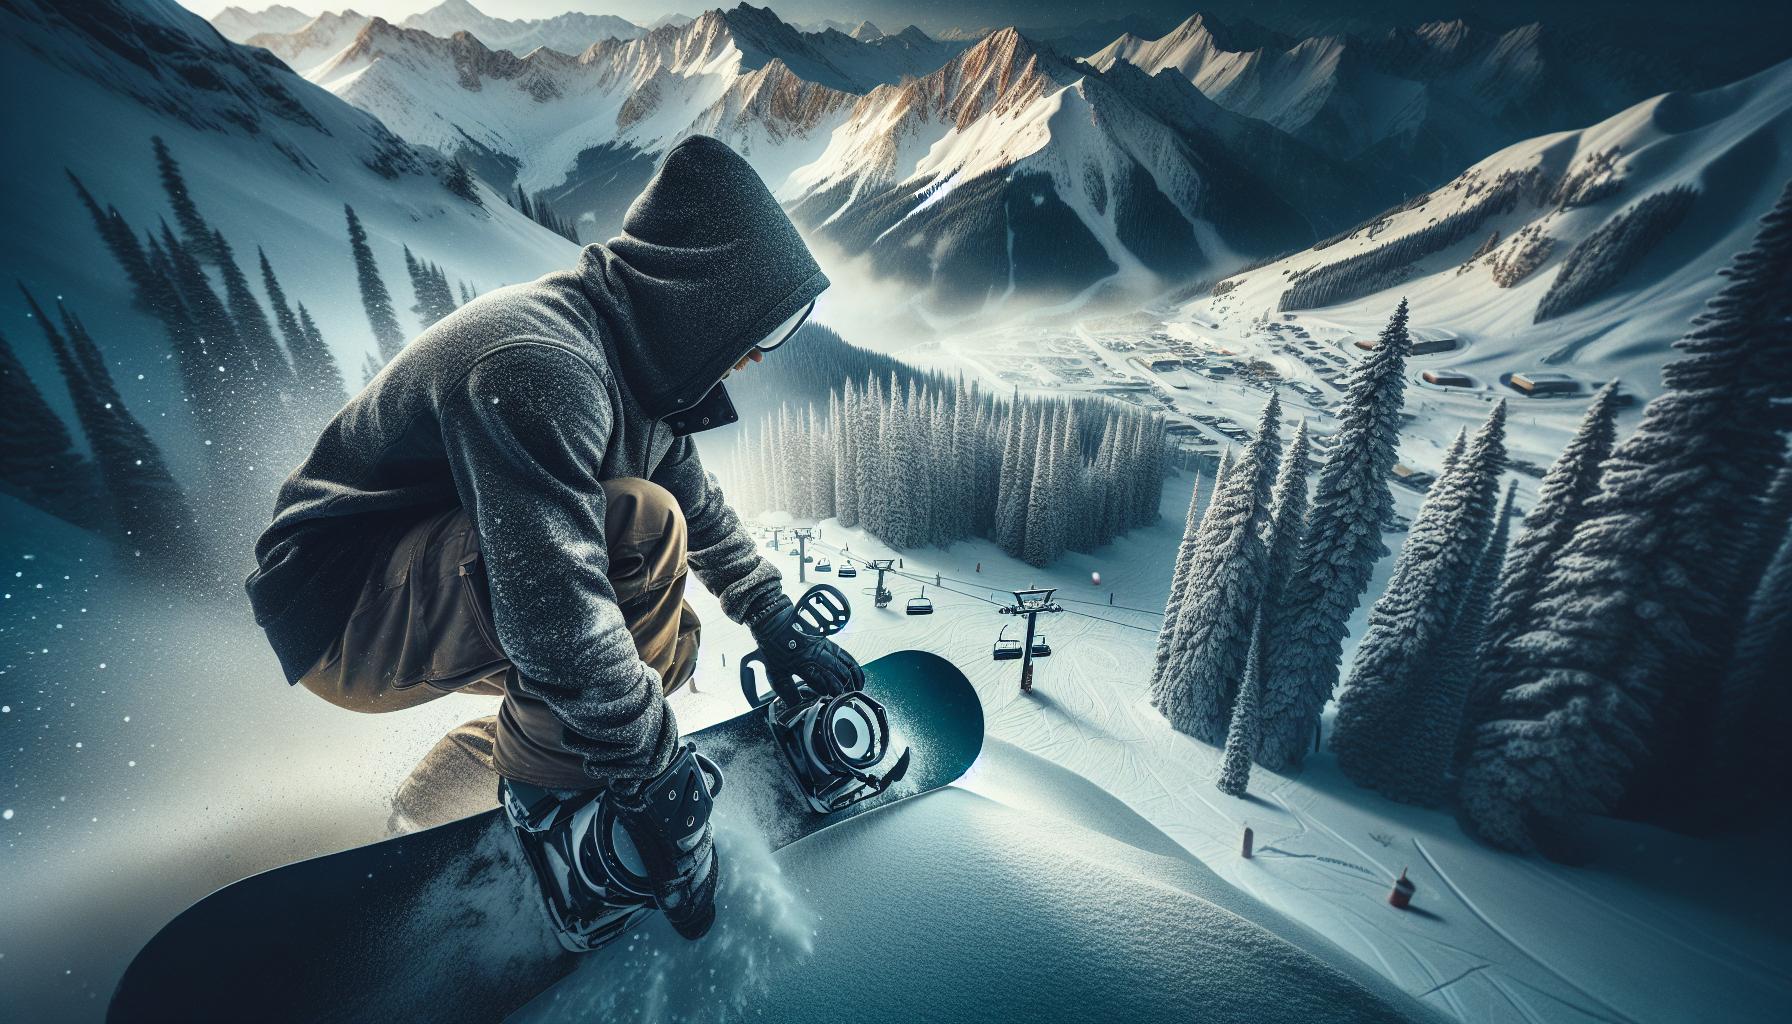
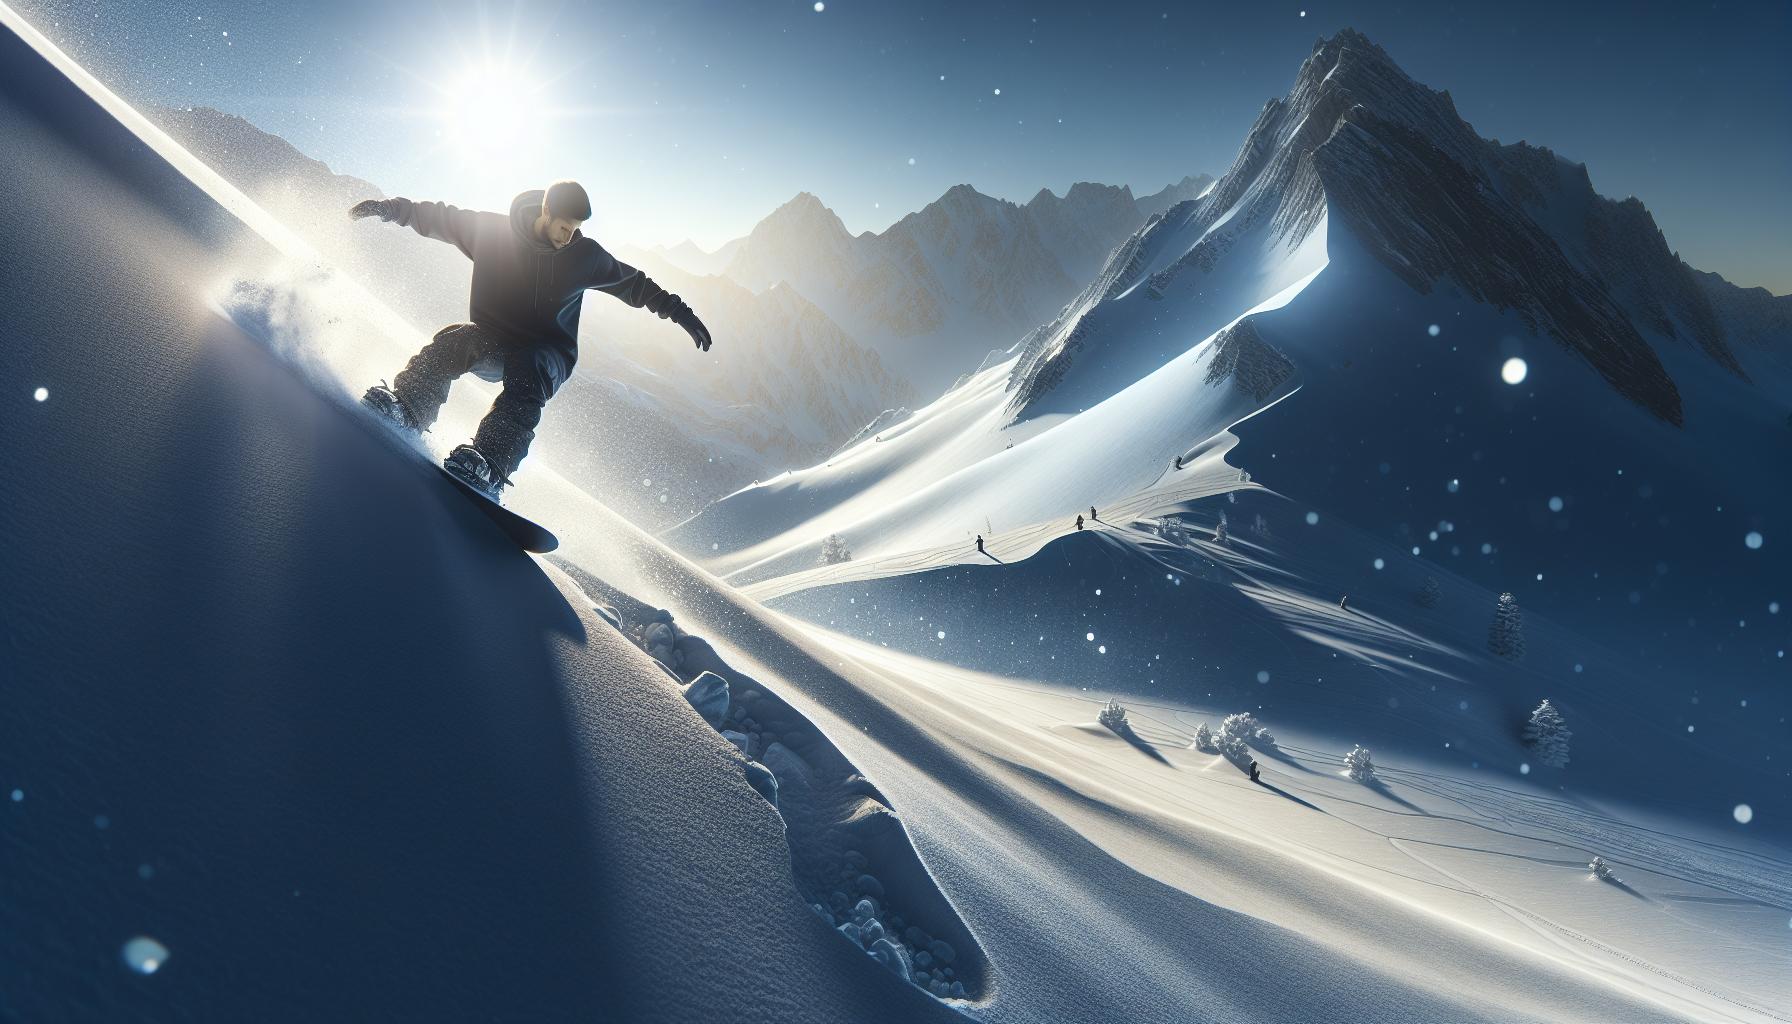
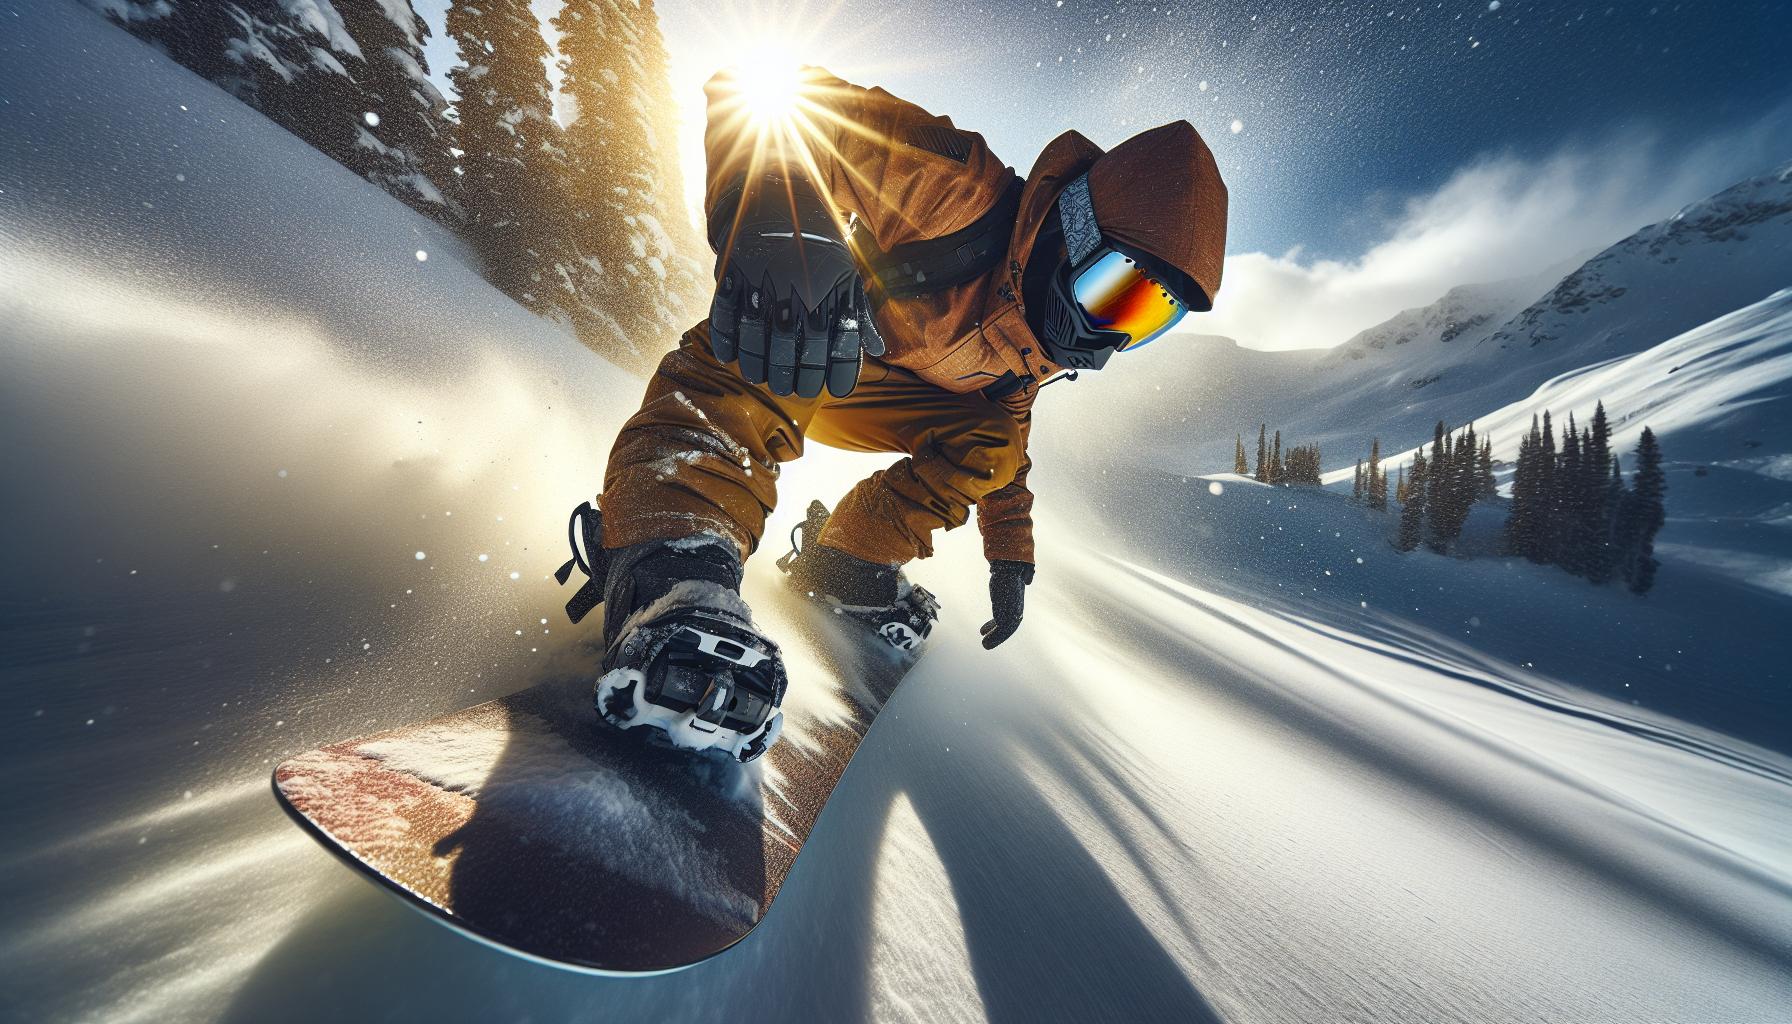
Many aspiring snowboarders wonder if it’s possible to hit the slopes without formal lessons. While professional guidance can accelerate your learning,self-teaching is a viable path. This article explores effective strategies for mastering snowboarding on your own, empowering you to embrace adventure and refine your skills while enjoying the thrill of the mountain.
Mastering the Basics: Key Skills Every Self-Taught Snowboarder Needs
The Fundamentals of Snowboarding Success
Beginning your journey with snowboard self-teaching can be exhilarating yet challenging. The key to mastering the slopes lies in developing a foundational set of skills that will not only boost your confidence but ensure your safety. Understanding these essential skills can make the difference between a day filled with crashes and frustration or one of thrilling success on the mountain.
- Balance: Snowboarding is all about balance. To maintain it, practise standing on your board with your knees slightly bent to lower your center of gravity. Once you feel stable, try shifting your weight from heel to toe while stationary.
- Edging: Learning how to use the edges of your snowboard is crucial. Practice sliding down gentle slopes while pressing your toes and heels into the snow. This technique helps control your speed and direction.
- Turning: Mastering turns is essential for maneuverability. Start with small, controlled turns by shifting your weight from your toes to your heels. Use your shoulders to guide your movements, which will help in steering the board effectively.
- Stopping: Knowing how to stop safely can prevent accidents. To stop, apply pressure to your back foot and turn the board sideways across the slope. Practice this technique frequently until it becomes second nature.
Practical Exercises to Hone Your Skills
Incorporating specific exercises into your practice can accelerate your learning process. Instead of overwhelming yourself with advanced tricks, focus on the basics. Here’s a table that summarizes some effective drills to implement during your snowboarding practice:
| Skill | Exercise | Duration |
|---|---|---|
| Balance | Ride on flat terrain | 10-15 minutes |
| Edging | Heel and toe turns on gentle slopes | 15-20 minutes |
| Turning | Linked turns on easy slopes | 20-30 minutes |
| Stopping | Sketch stops with turns | 15 minutes |
Remember that practicing these skills consistently over time will build muscle memory and improve your confidence on the board. By prioritizing the basics in your snowboarding journey,you answer the question,“Can you snowboard without lessons?” with a resounding yes,as you equip yourself with the right approach to self-teaching success strategies. So, gear up and hit the slopes—your snowboarding adventure awaits!
gear Up Smart: Choosing the Right Equipment for Your Journey
Did you know that the right equipment can substantially influence your self-teaching journey in snowboarding? Whether you’re a beginner setting out to explore the slopes or an experienced rider honing your skills, having the appropriate gear can elevate your experience and help you learn more effectively. Here are essential considerations and choices to make as you gear up for your adventure.
Essential Snowboarding Gear
When venturing into the world of snowboarding without structured lessons, selecting the right gear is crucial for both comfort and safety. Here’s a straightforward checklist that can guide your purchasing decisions:
- Snowboard: Choose the correct size and shape based on your height,weight,and riding style. All-mountain boards are versatile for different terrains, while freestyle boards are lighter and better for tricks.
- bindings: Ensure they are compatible with your board and provide a fit that caters to your boot size and ride stance (regular or goofy).
- Boots: Invest in proper snowboarding boots that offer comfort, support, and an adequate fit. Flex and fit are critical for mobility and performance.
- Protective Gear: Don’t ignore safety! A helmet, wrist guards, knee pads, and padded shorts can prevent injuries as you learn.
- Outerwear: Look for waterproof and insulated jackets and pants,along with moisture-wicking base layers for temperature regulation.
- Goggles: Invest in goggles with interchangeable lenses for varying weather conditions, ensuring clear vision and protection from UV rays.
Choosing the Right Equipment: Key Factors
Understanding the different aspects of your gear can help you make informed decisions and enhance your self-teaching strategies. Here are some vital factors to consider when selecting your equipment:
| Equipment | Considerations | Recommendations |
|---|---|---|
| Snowboard | Length, width, shape, and flex | Beginner: All-mountain board; Compatible with your boot size. |
| Bindings | Compatibility with your board and boots | Look for adjustable bindings that provide supportive flex. |
| Boots | Comfort,fit,and flex level | Choose boots that fit snugly without pressure points; consider soft flex for beginners. |
| Protective Gear | Fit and comfort | Helmets should be snug but not tight; wrist guards should allow movement yet protect. |
As you embark on your snowboard self-learning journey, remember that investing in quality gear tailored to your specific needs can pave the way for a more enjoyable experience on the slopes. Not only will the right equipment help you develop your skills more confidently, but it can also enhance your overall safety, allowing you to focus entirely on mastering the art of snowboarding.
Finding Your Feet: Essential Stance Techniques for Balance and Control
Did you know that mastering your stance is one of the most crucial aspects of successfully snowboarding? Whether you’re contending with the snowy slopes for the first time or looking to hone your self-taught skills, understanding how to find your feet can significantly enhance your balance and control on the board.
Understanding Your Stance
your stance is the foundation of your snowboarding technique. It directly influences how you maneuver, turn, and maintain balance.Many riders use two primary stances: regular (left foot forward) and goofy (right foot forward).To determine which stance suits you best, try this simple exercise:
- Stand with your feet together.
- Push yourself gently from behind—a friend can definitely help.
- notice which foot instinctively steps forward to correct your balance.
Adjusting your Stance Width
The width of your stance is another essential factor. A narrower stance can offer agility and swift turns, while a wider stance provides stability. Generally, a width that mirrors the distance between your shoulders works well for most riders. However, personal comfort and riding style should dictate adjustments.
- Narrow Stance: Enhances maneuverability; ideal for park riding.
- Wide Stance: Promotes stability for beginners or any rider tackling steep slopes.
Experiment with these options while stationary on relatively flat ground. Take note of how each feels and adjust until you strike a balance that feels comfortable for both riding and executing turns.
Foot Positioning and Angles
Foot positioning is pivotal for controlling your ride. Angles can range from 0° to 30°, affecting how you interact with the board. A common suggestion is to set the front foot at approximately 15° to 21° and the rear foot at a negative angle of 0° to -6°.This setup gives you the stability to make swift heel and toe-edge transitions.
| Stance Configuration | Front Foot Angle | Back foot Angle | Ideal Riding style |
|---|---|---|---|
| Regular | 15° to 21° | 0° to -6° | All-Mountain Riding |
| Goofy | -15° to -21° | -6° to 0° | Freestyle Riding |
After you’ve set your foot angles, strap in and practice shifting your weight between your toes and heels to get a feel for how adjustments affect your riding. This practice can contribute greatly to what you learn while snowboarding without lessons, as these self-teaching strategies encourage active engagement with your own style.
Finding your feet and establishing a solid stance is the first step in becoming a proficient snowboarder, whether you’re tackling the slopes solo or just looking to improve your skills through self-teaching. Leverage these techniques to build your confidence and enhance your overall riding experience!
The Art of Falling: Embracing Setbacks as Stepping Stones to Success
The Journey of Resilience
Many of us have heard the saying, “It’s not about how many times you fall, but how many times you rise.” This sentiment rings especially true in the world of self-teaching, especially when embarking on a challenging adventure like snowboarding. When you ask yourself, “Can you snowboard without lessons?” the answer often lies less in formal instruction and more in your ability to embrace the inevitable setbacks that come with learning any new skill. Each tumble on the snow is a lesson in disguise, teaching you resilience, balance, and the essence of adaptation.
- Expect to Fall: Just as a child learns to walk, mastering snowboarding involves plenty of falls. Recognizing this from the outset can shift your mindset from frustration to acceptance, allowing you to view each setback as a critical step in your learning process.
- Analyze Your Falls: After a tumble, take a moment to assess what went wrong. Was it your stance? Did your weight shift unexpectedly? Reflecting on these experiences helps you make necessary adjustments for improvement.
- Celebrate Small Wins: each recovery from a fall is a victory in itself. Acknowledge the progress you make, whether it’s maintaining your balance a little longer or mastering a turn. These milestones fuel confidence and motivate continued effort.
Transforming Setbacks into Learning Experiences
When tackling the question, “Can you snowboard without lessons?” one of the most vital self-teaching success strategies involves shifting your perspective on failures. Instead of perceiving a fall as a defeat, visualize it as a stepping stone toward mastery. This transformation can foster a more forgiving internal dialogue. Here are some practical steps to consider:
| Setback | Reflection | Action Step |
|---|---|---|
| Taking a hard fall | What went wrong? | Check body position and adjust weight distribution next attempt. |
| Inability to master a trick | Is my form correct? | Seek video tutorials to analyze technique or ask a more experienced rider for tips. |
| Feeling overwhelmed by progress | Acknowledge the frustration. | Take a step back, break skills into smaller segments to practice individually. |
Ultimately, the art of falling gracefully is about understanding that every setback has the potential to lead you to a better outcome. By adopting this mindset, you not only enhance your snowboarding experience but also cultivate a broader life philosophy: stumbling blocks can very well become building blocks on your path to success. Embracing this journey with gusto and tenacity can transform the question of whether one can snowboard without lessons from a point of doubt to an invitation for self-exploration and growth.
navigating the Slopes: Understanding Terrain and Conditions for Beginners
Did you know that understanding the slopes can significantly enhance your snowboarding experience? Familiarizing yourself with different types of terrain and conditions is essential, especially if you embark on the thrilling adventure of self-teaching.Whether you’re gliding down beginner runs or contemplating more challenging terrains, knowing what to expect can make all the difference between a successful ride and an awkward tumble.
Types of Terrain
When you’re out on the mountain, you’ll encounter various types of terrain, each offering unique challenges and experiences. Here’s a quick guide to the most common types you’ll face:
- Beginner Runs: these are usually marked with a green circle. They feature gentle slopes and are perfect for practicing your balance and carving techniques.
- Intermediate Runs: Marked by blue squares, these runs include steeper slopes and can introduce you to turns and speed control.
- Advanced Runs: Identified by black diamonds, these terrains are for seasoned snowboarders, featuring steep inclines, moguls, and possibly off-piste sections.
- Terrain Parks: These areas contain jumps, rails, and other features designed for tricks.Ideal for improving skills once you’re more confident.
Understanding Snow Conditions
Snow conditions can greatly affect your riding style and safety. Here are a few types of snow conditions you might face, along with tips on how to navigate them:
| Snow Condition | What to Expect | Tips for Beginners |
|---|---|---|
| Powder | Soft, fluffy snow that can be fun but tricky. | Maintain speed and practice wide turns. |
| Slush | Wet, heavy snow, often found in spring. | Shift your weight and stay balanced to prevent sinking. |
| Ice | Hard, slick surfaces that can be challenging. | Use a wider stance and practice edge control. |
| Moguls | Bumps formed by snow movement, found on steep slopes. | Approach with small turns and absorb the bumps with your knees. |
Understanding the terrain and snow conditions is crucial for anyone asking themselves, “Can you snowboard without lessons? Self-teaching success strategies heavily rely on prior knowledge.” As you explore the slopes, remember that practice makes perfect. Observing and adapting to the environment will not only build your skills but also enhance your confidence as you learn to ride. Happy shredding!
Progressing Your Skills: Effective Practice Drills for Solo Riders
Engaging in solo snowboarding can be immensely rewarding,allowing you to progress at your own pace and truly connect with the mountain. However, honing your skills without formal lessons requires deliberate practice and effective drills. Here are some strategies to ensure you maximize your time on the slopes, promoting both enjoyment and skill improvement.
Focused Drills for Enhancing balance and Control
One of the basic aspects of snowboarding is balance.To cultivate this, try the following drills:
- Single Leg Stance: Ride on one leg for a short distance, switching legs often. This drill engages your core and improves your stability.
- Slow Turns: Practice making slow, controlled turns both toe-side and heel-side. Use gentle slopes to ensure you’re focusing on technique rather then speed.
- Flat ground Riding: Spend time riding on flat terrain, practicing your balance.Try to glide straight, making subtle adjustments to stay upright.
integrating these exercises into your routine will build a solid foundation of balance and control, crucial for progressing in various conditions.
Dynamic Maneuvers to Build Confidence
Once you’re comfortable with balance, it’s time to challenge yourself with dynamic drills that build confidence.
- Carving Practice: Find a gentle slope and practice carving. focus on engaging your edges to create smooth arcs in the snow. Try to increase the intensity as you improve.
- Butt Slides for Falling: To become more comfortable with falling, practice butt slides where you sit down while riding. This will familiarize you with the sensation and prepare you for falls.
- Jump Progressions: Start with small jumps or features in the terrain park. Focus on landing flat to absorb the impact.As you feel more confident, gradually increase the size of the features.
These drills not only boost your technical skills but also help to eliminate fear, enabling you to tackle more challenging runs.
Setting Goals and Tracking Progress
As you embark on your self-teaching journey, it’s crucial to set measurable goals. Consider creating a simple progress tracker to visualize your improvement. Here’s a sample table to help guide your practice sessions:
| Date | Drill/Skill | Duration | Notes/Goals |
|---|---|---|---|
| MM/DD/YYYY | Single Leg Stance | 30 min | Improved balance, increase duration next time. |
| MM/DD/YYYY | Slow Turns | 45 min | Fewer slips, want to try steeper slope soon. |
| MM/DD/YYYY | Carving Practice | 60 min | Achieved smoother turns, ready for jumps! |
Tracking your practice not only instills a sense of accomplishment but also allows you to refine your focus over time, contributing greatly to your overall improvement.
Remember, while the question “Can you snowboard without lessons?” is often posed, it’s clear that with dedication and the right practice strategies, self-teaching can lead to notable success on the slopes.
Safety First: tips for Staying Safe While Learning on Your Own
While the thrill of learning to snowboard on your own can be exhilarating,it’s essential to prioritize your safety on the slopes. A solid foundation of self-teaching success strategies can only take you so far without proper precautions in place. Here are some key tips for ensuring your adventure remains both enjoyable and safe.
Gear Up Properly
Investing in the right equipment is crucial for reducing risk. Proper snowboarding gear not only enhances your performance but also protects you from injury. Here are some essential items to consider:
- Helmet: Always wear a certified snowboarding helmet. A good helmet will absorb impact and significantly reduce the risk of head injuries.
- Wrist Guards: These can help prevent injuries from falls, which are common for beginners.
- Knee Pads: Protecting your knees can save you from painful bruises and potential injuries.
- High-Quality Boots: Ensure your boots fit well and provide appropriate support for your ankles.
know Your Limits
Understanding your personal limits is vital when learning to snowboard without lessons. It’s importent to acknowledge when conditions or your skill level are pushing you toward danger. Follow these guidelines:
- Start Slow: Choose beginner slopes and gradually progress to more challenging terrain as your confidence builds.
- Practice Falling: Learning to fall safely can minimize injuries. Try to roll on impact and avoid falling on outstretched arms.
- Weather Check: Always check the weather conditions before heading out. Soft powder is forgiving, while icy conditions can be treacherous.
Stay Aware of Your Surroundings
The slopes can be busy, and being aware of your environment is vital for safety while self-teaching snowboard techniques. Consider these strategies:
- Look Ahead: always be aware of other snowboarders and skiers around you. Keep your head up and your eyes forward to anticipate any potential hazards.
- Follow the Rules: Be familiar with and adhere to the skier and snowboarder responsibility code at your resort.
- Buddy System: Whenever possible, snowboard with a friend for added safety. They can assist you in case you get injured or need help.
| Safety Tip | Details |
|---|---|
| Gear Up Properly | Invest in protective equipment such as helmets, wrist guards, and knee pads. |
| Know Your Limits | Start on beginner slopes, practice safe falling techniques, and check weather conditions. |
| stay Aware of Surroundings | Keep an eye on other snowboarders, adhere to rules, and consider snowboarding with a buddy. |
By incorporating these safety tips into your self-teaching journey, you can foster a safer environment while tackling the slopes. Remember, mastery of the sport comes with patience and practice—ensure that each ride is not only exhilarating but also secure.
Community Connection: Leveraging Online Resources and Local Riders for Growth
Harnessing Online resources for self-Teaching Success
In today’s digital age, aspiring snowboarders can access a wealth of online resources that empower them to learn effectively without formal lessons. Video tutorials, blogs, and social media platforms offer endless opportunities for self-education, allowing individuals to tailor their learning experiences based on personal preferences and skill levels. for instance, YouTube hosts a plethora of instructional videos where experienced riders share tips on stance, balance, and maneuvering techniques, all crucial components for mastering the slopes. These resources not only make the learning process more engaging, but they also provide visual examples that enhance understanding.
Key Online Resources:
- YouTube: An extensive library of snowboard tutorials.
- Online Forums: Communities like Reddit where riders share personal experiences and advice.
- Social Media: Follow snowboarding influencers for daily tips and motivation.
Building Community Connections with Local Riders
Connecting with local riders is a game-changer for those embracing self-teaching strategies, as it brings invaluable hands-on experience and mentorship. Joining local snowboarding clubs or participating in group rides can enhance your learning curve dramatically. These community interactions foster a supportive environment where novice snowboarders can ask questions, receive feedback, and share their progress with fellow enthusiasts.
Benefits of Community Engagement:
- Real-Time Feedback: Get immediate tips on improving your technique.
- Shared Knowledge: Learn from experienced riders who can offer personalized advice.
- Motivation and Accountability: Riding with a group keeps you engaged and motivated to improve.
Actionable Steps for Growth
To optimize your self-teaching journey, consider implementing a structured approach to your learning. Create a checklist of skills you wish to master, ranging from fundamental techniques like stopping and turning to advanced tricks. You can also schedule regular practice sessions with local riders to apply what you’ve learned online in real-time settings. As you progress, document your experiences through videos or a blog to track improvements and reflect on your growth.
| Skill | Online Resource | Local Connection |
|---|---|---|
| Basic Stance | YouTube Tutorials | Local club Workshops |
| Turning Techniques | Snowboarding Blogs | Group Practice Sessions |
| Advanced Tricks | Instructional Online Courses | Mentorship from Experienced Riders |
Through leveraging online resources coupled with connections to local riders, anyone can effectively navigate the self-teaching journey of snowboarding. By staying committed to learning and engaging with the community, you can achieve your snowboarding goals without the need for formal lessons.
Frequently Asked Questions
Can You Snowboard Without lessons? Self-teaching Success strategies?
Yes, you can snowboard without lessons! many riders successfully teach themselves by using online resources, practicing, and learning from others. However, having some guidance can help accelerate your progress and ensure a safer experience on the mountain.
Self-teaching requires a solid understanding of snowboarding fundamentals, including balance, turning, and stopping. Make use of free tutorials, forums, and videos that cover essential techniques and tips for getting started. Remember, practice makes perfect!
If you’re really committed to learning, consider joining online communities or forums. Connecting with seasoned snowboarders can provide you with valuable insights and support as you develop your skills. For more structured advice,check out our guide on snowboarding tips.
What is the best way to learn snowboarding without lessons?
The best way to learn snowboarding without lessons involves a combination of self-practice, watching instructional videos, and getting feedback from experienced riders. Start on gentle slopes to build confidence.
Begin by mastering the basic stance and sliding on flat terrain. Then, progress to practice turning and stopping on easier slopes. Utilize available resources such as online videos or apps that offer step-by-step guidance tailored for beginners.
Don’t forget to consult accommodation guides before heading out to ensure you have the right gear, as it plays a huge role in your riding experience. For more essential tips, refer to our thorough beginner snowboarding guide.
Can I learn snowboarding at my own pace?
Absolutely, you can learn snowboarding at your own pace! Self-teaching allows you to progress according to your unique comfort level, from basic techniques to more advanced maneuvers.
Take time to practice each skill until you feel confident before moving on. Set achievable goals each time you hit the slopes, and gradually challenge yourself with different terrains and speeds.Remember, everyone learns at their own speed, so don’t rush the process!
If you find yourself stuck or frustrated, don’t hesitate to ask for advice from fellow snowboarders. Shared experiences can offer valuable insights. For more encouragement and community vibes,check out our friendly community forums!
Why does self-teaching sometimes lead to bad habits in snowboarding?
Self-teaching can lead to bad habits due to improper techniques. Without guidance,you might develop incorrect form or unsafe practices that hinder your progression and increase your risk of injury.
Bad habits can arise from mimicking others without understanding the fundamentals. If you skip key turning or stopping techniques, it can significantly impact your riding. Regularly assessing your technique through recorded videos or feedback can help correct these issues.
Consider mixing self-teaching with occasional lessons to avoid falling into these traps. A professional instructor can pinpoint specific areas for improvement, ensuring you develop a solid foundation. For tips on recognizing and correcting bad habits, explore our avoiding bad habits article.
What equipment do I need to snowboard by myself?
The essential equipment for snowboarding alone includes a snowboard,boots,bindings,and appropriate gear. You also need a helmet and warm clothing to keep safe and comfortable on the mountain.
choose a snowboard suited for your height and riding style, which will enhance your ability to learn effectively. Invest in quality boots that provide a snug fit without sacrificing comfort, as they’ll significantly affect your ride.
Layering your clothing is crucial—opt for moisture-wicking base layers, insulated mid-layers, and waterproof outer layers. Don’t forget to use goggles for visibility! For more gear recommendations, be sure to check our detailed snowboarding gear guide.
Can I teach myself snowboarding with the help of friends?
Yes, you can definitely teach yourself snowboarding with help from friends! Riding with experienced buddies can provide motivation, support, and practical tips to improve your skills.
When learning with friends,ensure that they can offer constructive feedback on your techniques to help refine your skills.Consider setting group goals and challenges to keep the energy high and the learning process fun!
Taking turns being the teacher can also deepen understanding of techniques. Having the camaraderie of friends can turn any day on the slopes into an enjoyable adventure. For tips on maximizing your learning with others, check out our group snowboarding tips.
How can I stay safe while snowboarding without lessons?
Staying safe while snowboarding without lessons involves understanding your limits, wearing protective gear, and being aware of your surroundings. Always prioritize safety by choosing appropriate terrain based on your skill level.
Wear a helmet at all times and consider additional protective gear like wrist guards or knee pads. Stay hydrated and take regular breaks to avoid fatigue, which can lead to accidents.
Always be aware of your surroundings—watch for other riders and obstacles on the slope. Familiarize yourself with basic mountain etiquette to help ensure everyone enjoys their time riding. For more safety tips, don’t miss our snowboarding safety guide.
Closing Remarks
As you gear up for the slopes, remember that snowboarding is not just about mastering tricks; it’s about embracing the ride and the journey that comes with it.Whether you’re perfecting your heel-side turns or tackling your first black diamond, the key to self-teaching lies in patience, practice, and a sprinkle of tenacity. Equip yourself with the right gear, absorb tips from fellow riders, and don’t shy away from trial and error—every tumble is a lesson learned! Keep an open mind as you navigate the mountain, adjust your techniques, and celebrate small victories along the way.
Now that you’ve uncovered self-teaching strategies,it’s time to hit those trails with confidence. Dive deeper into the community, ask questions, and share your experiences. Your next epic ride awaits, so grab your board and let the adventure unfold! Keep shredding, stay curious, and let those exhilarating moments drive your passion for the sport. You’ve got this!

